Pneumatic Gripper


What is pneumatic gripper?
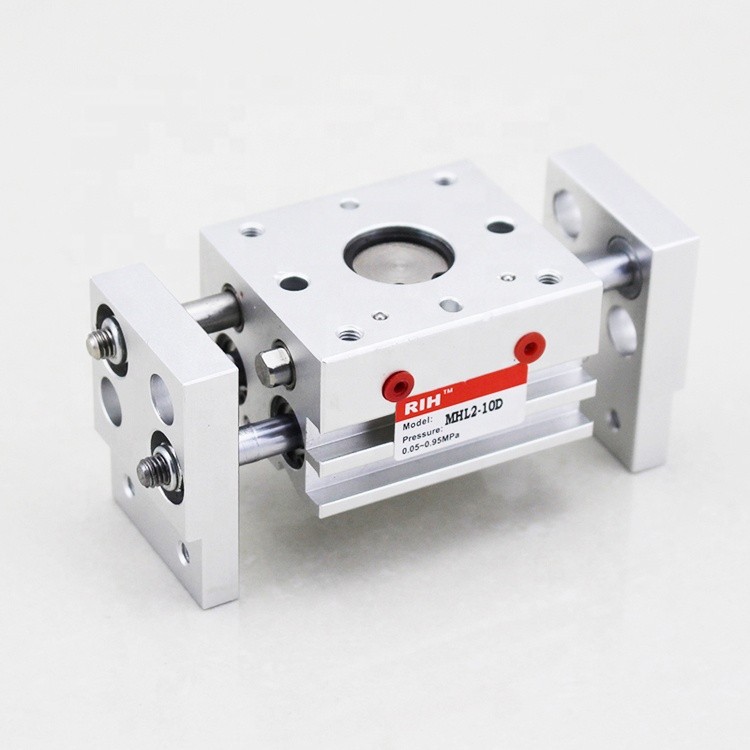
A pneumatic gripper is a type of actuator in the pneumatic system family that is specifically designed for grasping and manipulating objects in various industrial applications. It utilizes compressed air to power its movement, providing a reliable and efficient means of handling materials.
What does a pneumatic gripper do?
A pneumatic gripper is a specialized tool used primarily for picking up, holding, and releasing objects as part of automated processes. Here's a concise breakdown of its main functions:
Core Functions of a Pneumatic Gripper:
-
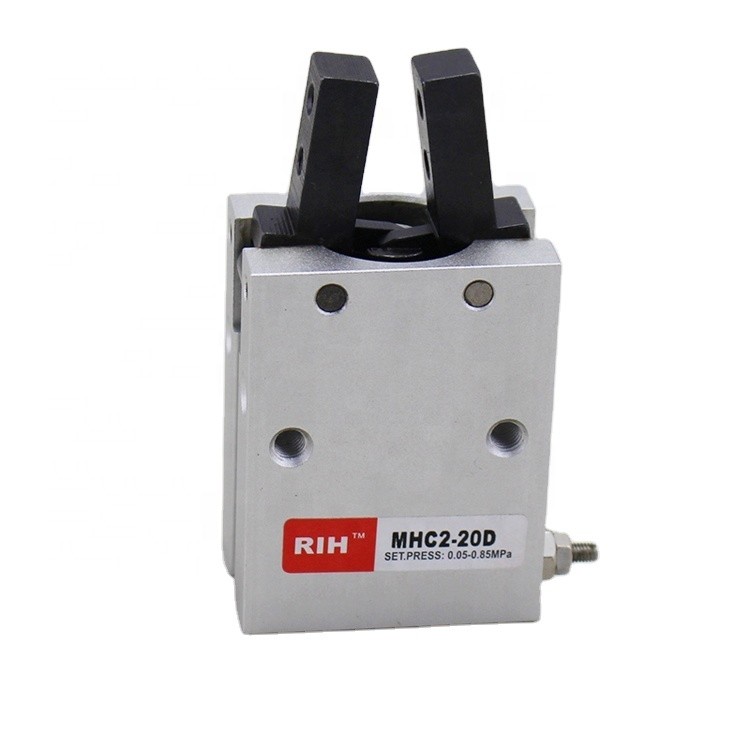
Grasping Objects: Pneumatic grippers have jaws or fingers that close around an object to grasp it securely. This is driven by compressed air, allowing for rapid response and precise control.
-
Holding Objects Steadily: Once an object is grasped, the gripper can hold it firmly in place during the manufacturing or assembly process. This stability is crucial for operations requiring high precision, such as assembly in the electronics industry.
-
Releasing Objects: The gripper can also release the object at a desired location or onto a conveyor belt, which is essential for fully automated or semi-automated production lines.
Enhanced Capabilities:
- Adjustability: Some grippers come with adjustable force and speed settings, enabling customization according to the weight and fragility of the objects being handled.
- Sensitivity: Advanced models may include sensors that allow the gripper to detect and adjust the grip on objects, preventing damage to sensitive components.
How does a pneumatic gripper work?
-
Air Intake: Compressed air is directed into the piston chamber through a valve. The amount and flow of air are precisely controlled to manage the speed and force of the gripper.
-
Activation of the Piston: As air fills the piston chamber, it creates pressure that pushes the piston. This movement is transferred to the gripper’s jaws or fingers.
-
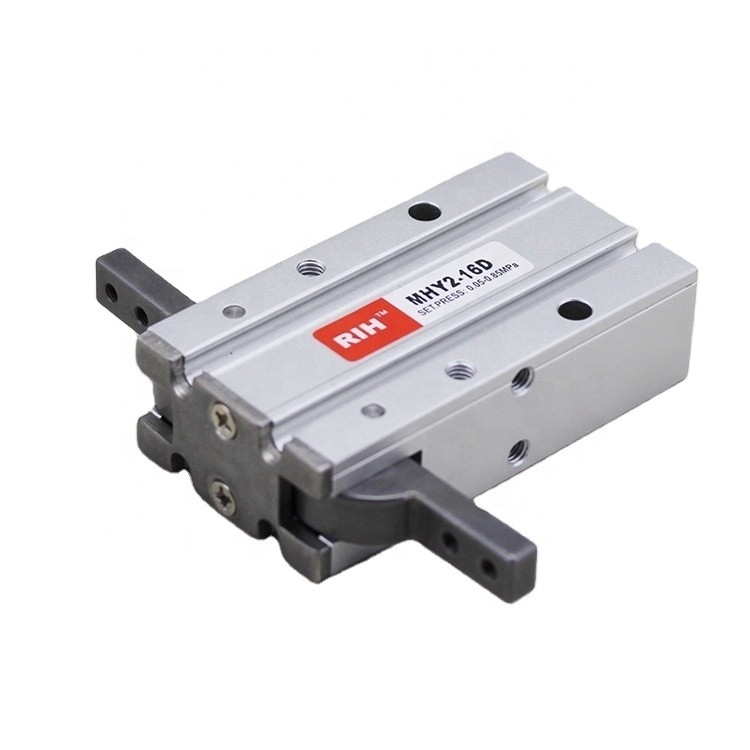
Movement of Jaws: The movement of the piston causes the jaws to either open or close, depending on the design (some grippers open when air pressure is applied and close when it is released, while others work the opposite way).
-
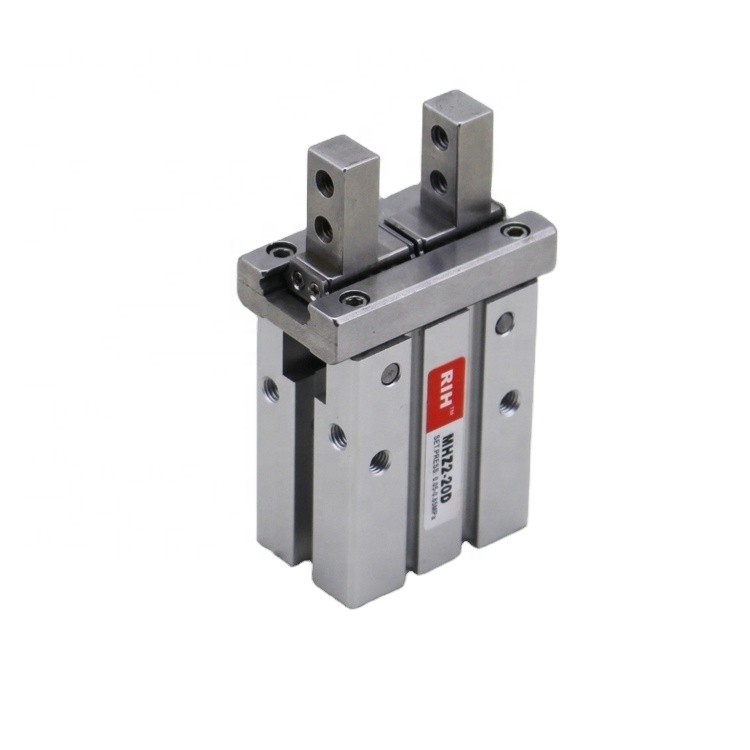
Gripping the Object: When the jaws close around an object, they apply sufficient force to hold it securely. This force can be adjusted based on the fragility and size of the object to prevent damage.
-
Release: To release the object, the air pressure is either redirected or vented, allowing springs or another mechanism to return the jaws to their open position.
How to make a pneumatic gripper?
Step 1: Design Your Gripper
- Determine the size and load requirements: The size of the objects you plan to grip will dictate the size of your gripper and the type of pneumatic cylinder you need.
- Sketch the gripper design: This includes the placement of the cylinder, the jaws, and how they will connect to the body.
Step 2: Assemble the Gripper Body
- Construct or acquire a body: This will hold all the other components.
- Attach the jaws to the body: Use hinges or pivots to ensure that the jaws can open and close smoothly.
Step 3: Install the Pneumatic Cylinder
- Mount the cylinder: Secure the cylinder in place so that it can drive the movement of the jaws.
- Connect the cylinder to the jaws: This can be done using mechanical linkages that translate the linear motion of the piston into the opening and closing motion of the jaws.
Step 4: Set Up the Pneumatic System
- Attach air hoses and connectors: Ensure secure connections to prevent leaks.
- Install the solenoid valve: This will control the flow of air to the cylinder, and thus the operation of the gripper.
Step 5: Wiring and Control
- Set up the control system (if used): Connect the solenoid valve to the control system, which can be manually operated or programmed for automatic operation.
- Test the connections: Before using compressed air, ensure all electrical connections are secure and the program is correctly set up (if using an automated system).
Step 6: Testing and Adjustments
- Apply air pressure: Start with low pressure to test the function. Watch the movement of the jaws and ensure they open and close fully.
- Adjust as necessary: Make any needed adjustments to the alignment, air pressure, or programming to achieve the desired performance.